Play with Docker install Nginx
最近在重新學習 Nginx 的相關基礎設定,首先需要一個方便測試反向代理還有附載均衡的功能,所以利用以前常用的 Play with Docker 網站提供的快速建構 node 功能,來學習我們想要了解的相關功能,也不會影響到自己的本地環境。
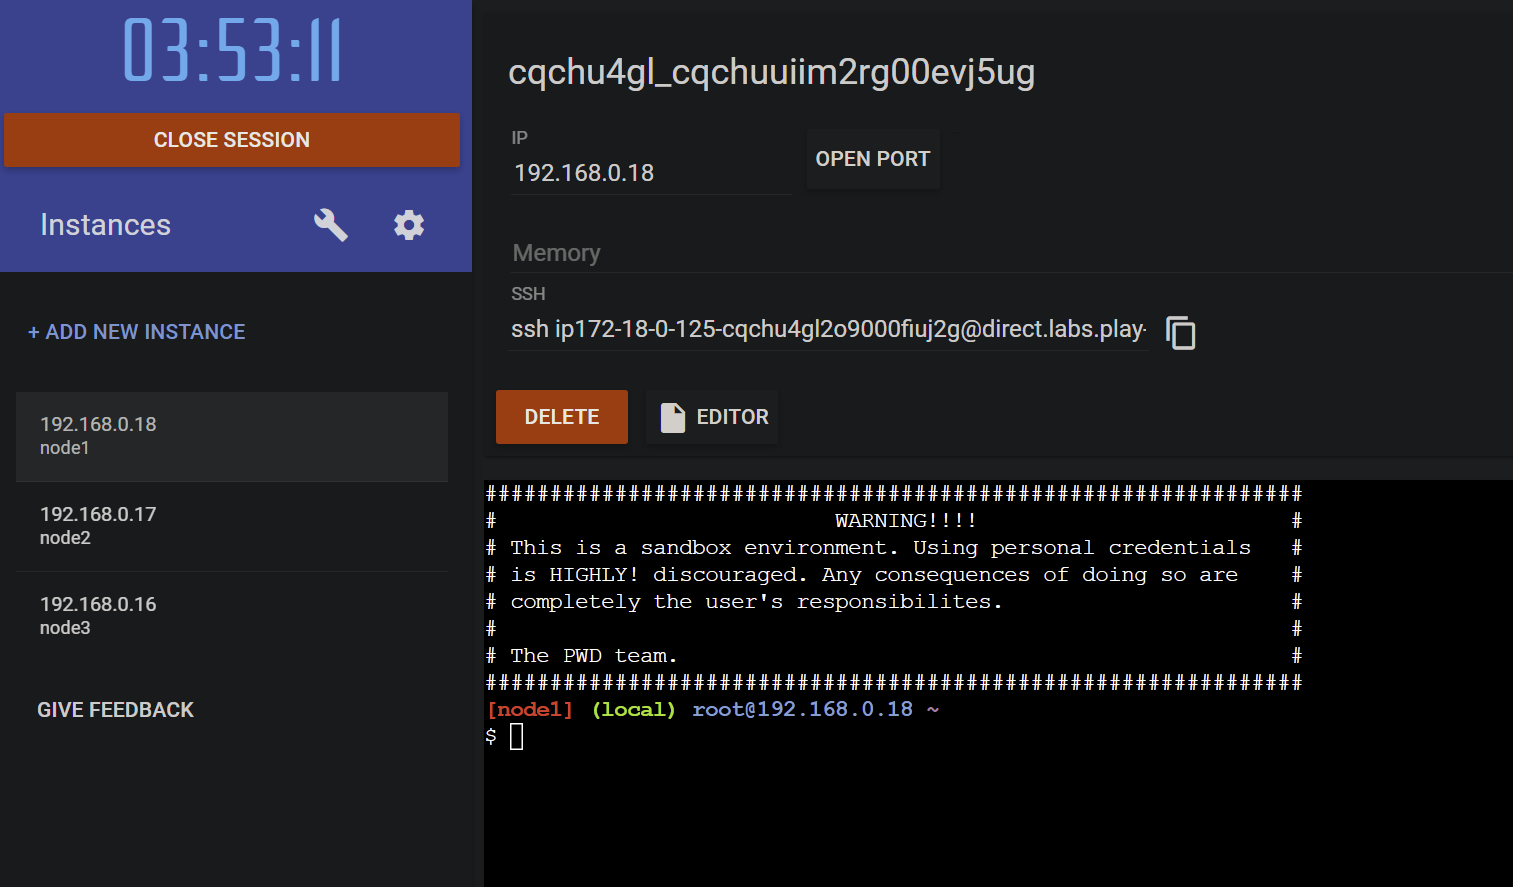
點擊 Add New Instance 自動建立三台虛擬機。
| IP | Hostname |
|---|---|
| 192.168.0.18 | node1 |
| 192.168.0.17 | node2 |
| 192.168.0.16 | node3 |
接下來在分別三台虛擬機安裝 Nginx 並且運行 Nginx
apk add nginx
由於目前的 alpine package 並沒有包含 nginx 預設的 html 頁面,所以直接訪問後會顯示錯誤404,因此可以先加入預設頁面方便測試
vi /etc/nginx/http.d/default.conf
server {
        listen 80 default_server;
        listen [::]:80 default_server;

        # Everything is a 404
        location / {
                root   /usr/share/nginx/html;
                index  index.html index.htm;
        }

        # You may need this to prevent return 404 recursion.
        location = /404.html {
                internal;
        }
}
mkdir /usr/share/nginx/html
cd /usr/share/nginx/html
vi index.html
這邊可以幫每台虛擬機的 index.html 分別設定內容以區分目前 nginx 連線到哪一台機器上。
<!DOCTYPE html>
<html>
<head>
<title>Welcome to nginx!</title>
</head>
<body>
<p>192.168.0.18</p>
</body>
</html>
都設定完成後就可以將 nginx 服務運行。
nginx
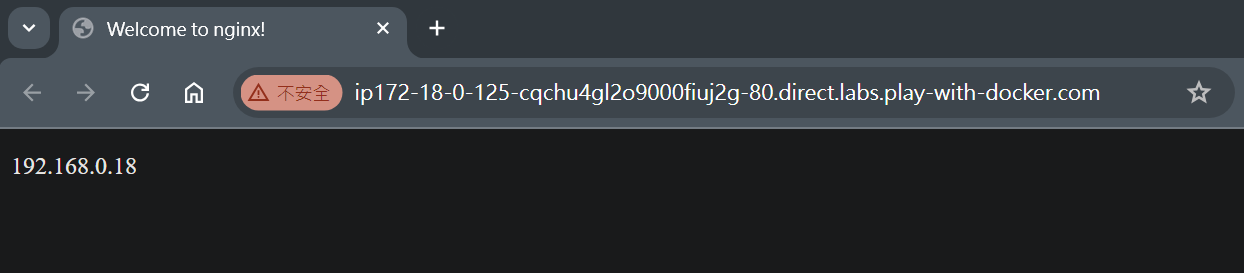
最後到 Play with Docker 面板上點擊 OPEN PORT 按鈕,並對外開放 80 port。

能夠成功回應 IP 的話就代表操作都成功了。
Nginx Load Balancer
在上一小節我們已經成功在三台虛擬機上運行 Nginx 服務,並且可以根據回應的內容來判斷目前運行的機器 IP 是多少, 接下來可以稍微測試一下 Nginx Load Balancer 功能,我們將稍微修改一下 default.conf 讓其中一台虛擬機變成 Load Balancer, 並且它的任務就是將請求平均分配到其他兩台機器上。
修改 192.168.0.18 的 default.conf
vi /etc/nginx/http.d/default.conf
這邊建立一個新的 upstream 名稱為 node,並且新增另外兩台的 IP 到這個 node upstream 當中,最後當我們訪問 192.168.0.18 時 將請求轉發給這個 upstream。
upstream node {
      server 192.168.0.17:80;
      server 192.168.0.16:80;
}
server {
      listen 80 default_server;
      listen [::]:80 default_server;

      location / {
          proxy_pass http://node;
      }
}
這邊傳送 s 參數讓 nginx 能夠讀取新的設定值。
nginx -s reload
能看到按下重新整理後IP每次都會變動,代表我們的 Load Balancer 有成功將請求分配給剩餘的兩台機器上


Summary
今天複習了 Play with Docker 提供的相關功能與 Nginx 安裝的方式,最後將其中一台虛擬機改成 Load Balancer 將請求分配給其他兩台機器上,之後的文章會依照這個流程來建立測試環境來學習更深入的內容。